How to Pay with Cryptocurrency - Complete Step-by-Step Guide
Paying with cryptocurrency has become increasingly popular for digital services, offering enhanced privacy, faster transactions, and global accessibility. This comprehensive guide will walk you through every step of the process, from setting up your first wallet to completing secure transactions.
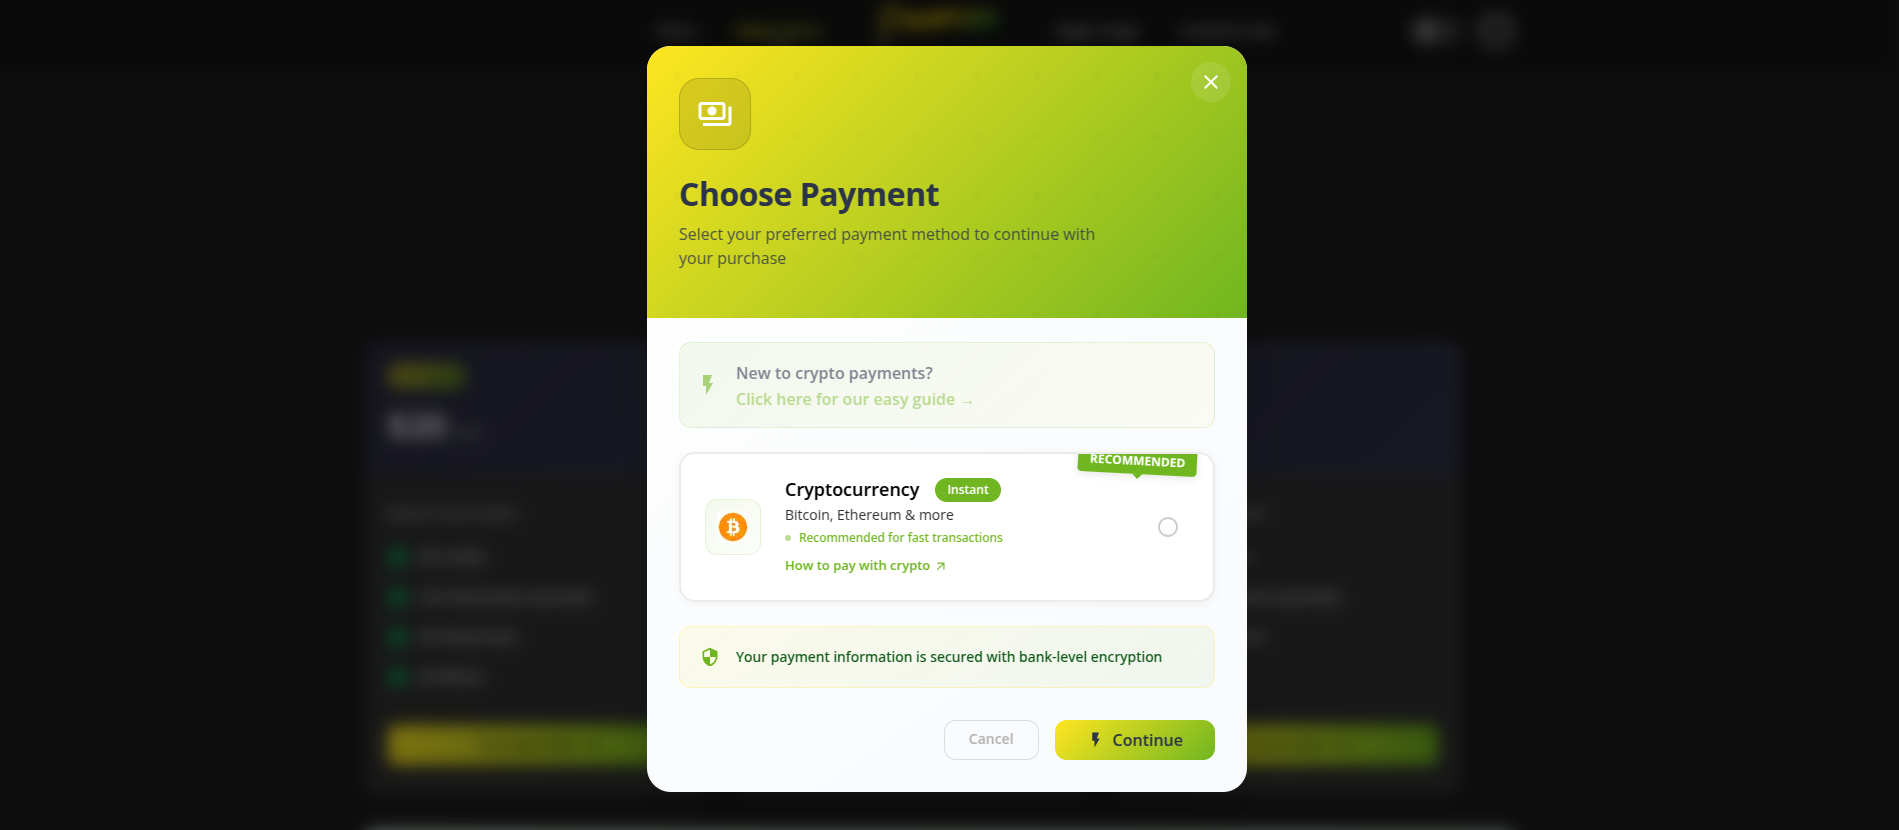
Accepted Cryptocurrencies
We accept the following cryptocurrencies for payment:
- Bitcoin (BTC) - Most widely accepted, processing time: 10-30 minutes, minimum: 0.001 BTC
- Ethereum (ETH) - Smart contract support, processing time: 2-10 minutes, minimum: 0.01 ETH
- USDT - Stable value pegged to USD, processing time: 2-10 minutes, minimum: $10
- Litecoin (LTC) - Fast and low-cost, processing time: 5-15 minutes, minimum: 0.1 LTC
Phase 1: Getting Ready for Crypto Payment
Step 1: Choose Your Cryptocurrency
Select which cryptocurrency you want to use for payment. For beginners, we recommend USDT for stable value or Bitcoin for widespread acceptance. Each has different advantages:
- Bitcoin (BTC) - Most widely accepted but slower transactions
- Ethereum (ETH) - Faster transactions with smart contract support
- USDT - Stable value pegged to US Dollar
- Litecoin (LTC) - Fast and low-cost transactions
Step 2: Set Up a Crypto Wallet
You need a digital wallet to store and send cryptocurrency. Choose from these options:
- Mobile Wallets (Trust Wallet, Coinbase Wallet, MetaMask Mobile) - Easy to use and always accessible
- Desktop Wallets (Exodus, Electrum, MetaMask Browser) - More secure and feature-rich
- Hardware Wallets (Ledger, Trezor) - Most secure with offline storage
We recommend downloading Trust Wallet or MetaMask for beginners.
Step 3: Secure Your Wallet
Protect your wallet with proper security measures:
- Write down your recovery phrase (12-24 words) on paper
- Store the recovery phrase in a safe place
- Never share your recovery phrase with anyone
- Enable two-factor authentication if available
- Use a strong password for your wallet
⚠️ Warning: If you lose your recovery phrase, you lose access to your cryptocurrency forever!
Phase 2: Acquiring Cryptocurrency
Step 4: Buy Cryptocurrency
Purchase crypto using your preferred method:
- Exchange Platforms (Coinbase, Binance, Kraken) - Create account, verify identity, add payment method, buy crypto (1-4% fees)
- Peer-to-Peer (P2P) (LocalBitcoins, Paxful) - Find trusted sellers, trade through escrow (0.5-2% fees)
- Crypto ATMs - Use cash to buy crypto directly (5-20% fees but more private)
Step 5: Transfer to Your Personal Wallet
Move your crypto from exchange to your personal wallet:
- Open your personal wallet app
- Find and copy your wallet address
- Go to your exchange account
- Navigate to 'Withdraw' or 'Send'
- Paste your wallet address
- Enter the amount to transfer
- Double-check the address (mistakes are irreversible!)
- Confirm the transaction
- Wait for confirmation (5-30 minutes)
Important: Always send a small test amount first to verify the address is correct.
Phase 3: Making the Payment
Step 6: Calculate Payment Amount
Determine how much crypto to send by checking current exchange rates and adding network fees. Use tools like CoinMarketCap or CoinGecko for current prices.
Step 7: Initiate the Payment
Send cryptocurrency to the merchant:
- Open your wallet app
- Select 'Send' or 'Transfer'
- Enter or scan the merchant's wallet address
- Enter the exact amount to send
- Select appropriate network fee
- Review all details carefully
- Confirm the transaction
- Save the transaction ID (TXID)
Step 8: Track Your Payment
Monitor the transaction status using blockchain explorers:
- Bitcoin: blockchain.com, blockchair.com
- Ethereum: etherscan.io, etherchain.org
- Litecoin: blockchair.com/litecoin
Confirmation times vary: Bitcoin (10-60 minutes), Ethereum (3-8 minutes), USDT (3-8 minutes), Litecoin (15-30 minutes).
Phase 4: Payment Completion
Step 9: Confirm Payment with Merchant
Notify the service provider about your payment by sending:
- Transaction ID (TXID)
- Amount sent
- Cryptocurrency used
- Your order number or account email
- Timestamp of transaction
Step 10: Receive Your Service/Credits
Access your purchased service after payment confirmation. Processing times vary from 15 minutes to 24 hours depending on verification method.
Network Fees
- Bitcoin: $1-20 (depends on network congestion)
- Ethereum: $2-50 (depends on network congestion)
- USDT on Ethereum: $2-50
- USDT on Tron: $1-3 (much lower fees)
- Litecoin: $0.10-1 (consistently low)
Advantages of Crypto Payments
- Enhanced privacy and anonymity
- Faster than traditional bank transfers
- Available 24/7 without banking restrictions
- Lower fees for merchants
- Global accessibility
- Final and irreversible transactions
Troubleshooting Common Issues
Transaction Not Confirming
Check if you paid sufficient network fees, wait longer for network congestion to clear, or contact the merchant if 24+ hours pass.
Sent to Wrong Address
Unfortunately, most wrong-address transactions are irreversible. Always double-check addresses before sending.
Payment Amount Incorrect
Contact the merchant with transaction details. Send additional payment if underpaid or request refund if significantly overpaid.
Security Best Practices
Before payment: Verify merchant's wallet address, use small test transactions, check exchange rates from multiple sources.
During payment: Double-check all details, use appropriate network fees, save transaction IDs, take screenshots.
After payment: Monitor confirmations, keep records, don't share transaction IDs publicly, follow up with merchant if needed.
Support Resources
For additional help:
- Trust Wallet: support.trustwallet.com
- MetaMask: metamask.zendesk.com
- Coinbase Wallet: support.coinbase.com
- CoinMarketCap Learn section
- Binance Academy
- Coinbase Learn center
Cryptocurrency payments offer a modern, secure, and private way to pay for digital services. Follow this guide step-by-step to ensure successful transactions every time.